How to Create & Import a Multi-Page Canva Website into Shopify
This guide explains how to create a multi-page website in Canva and import it into Shopify using Canvify. We’ll also cover important limitations, best practices, and when multi-page designs are (and aren’t) recommended.
Overview
Canva recently introduced a feature that allows you to create multiple pages inside a single website design. Instead of creating separate designs for each page, you can now:
- Add multiple pages within one Canva website
- Rename pages
- Link buttons or elements to internal pages
- Publish everything as one website link
Using Canvify, this multi-page Canva website can be imported into Shopify in one step.
However, there are a few important things to understand before using this approach in production.
Step 1: Create a Multi-Page Website in Canva
- Open Canva and create a new Website design
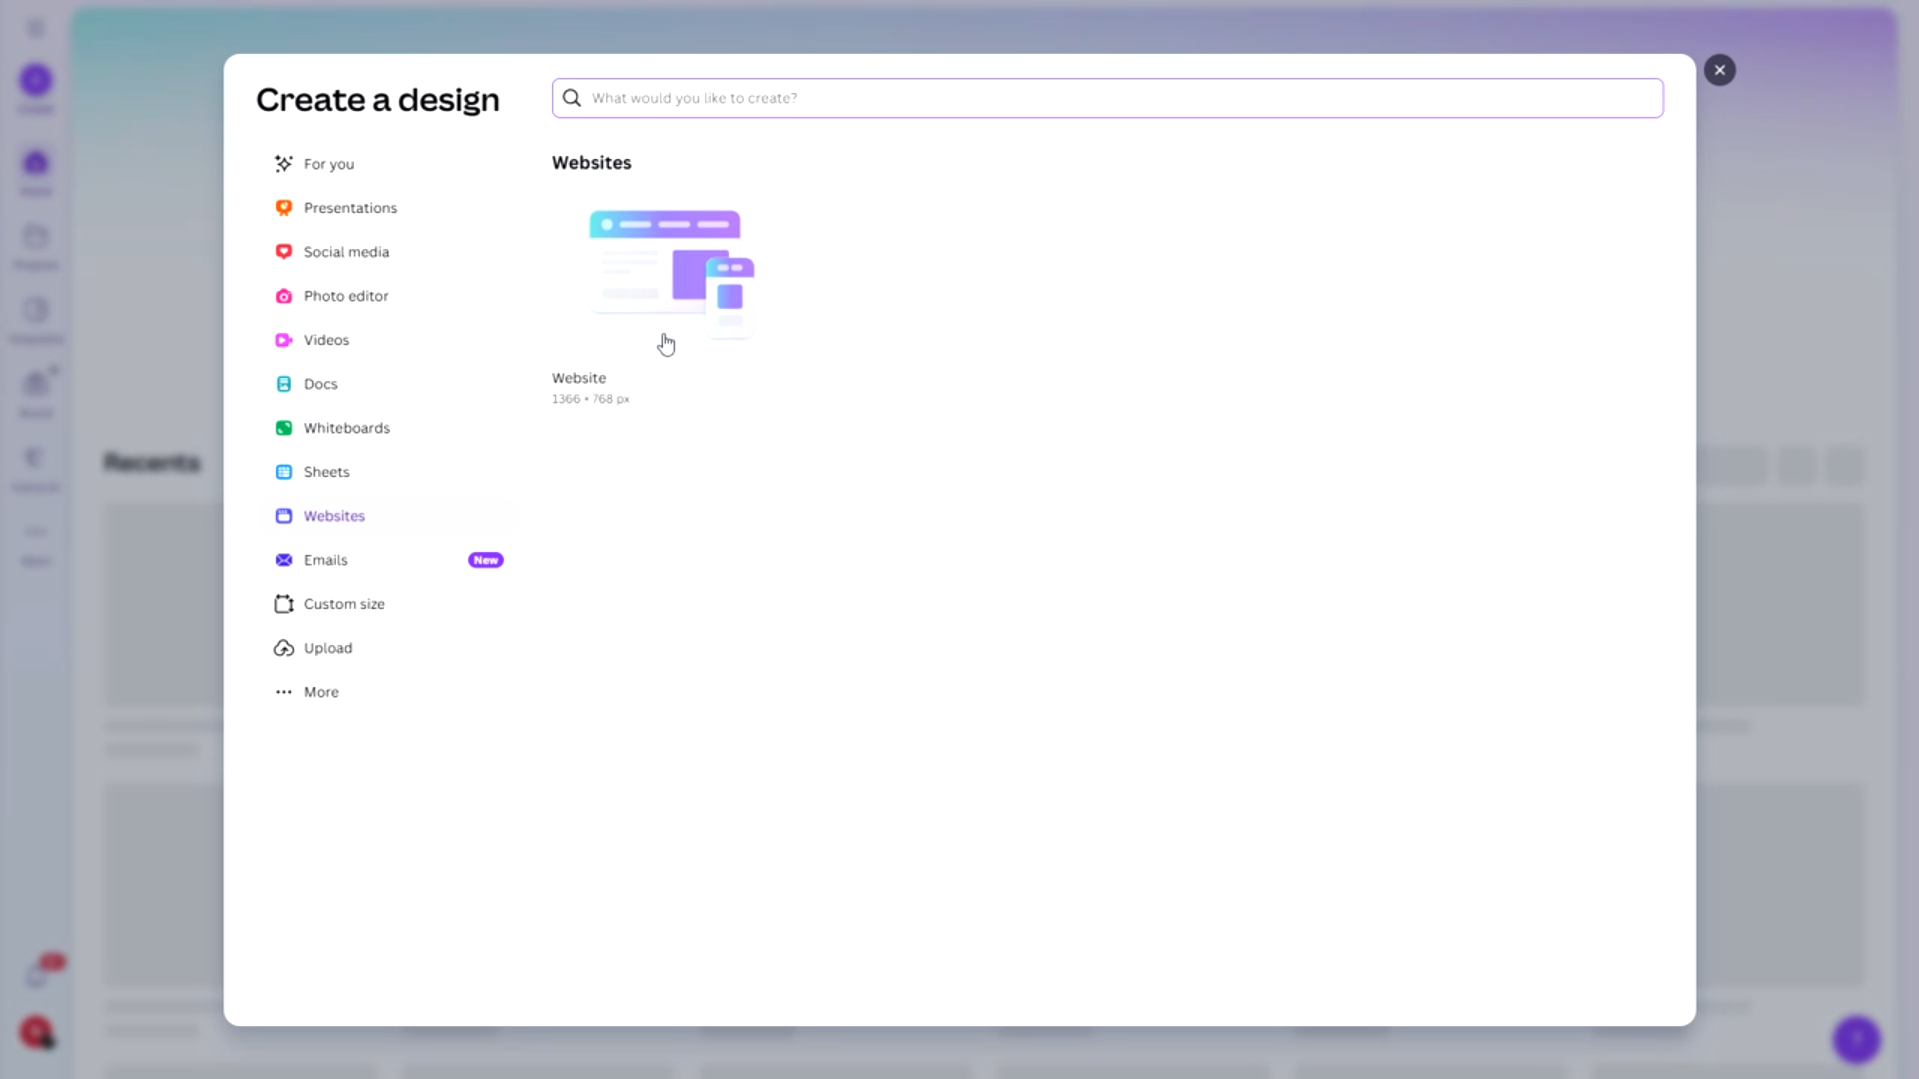
- Choose a blank layout or select a pre-made website template
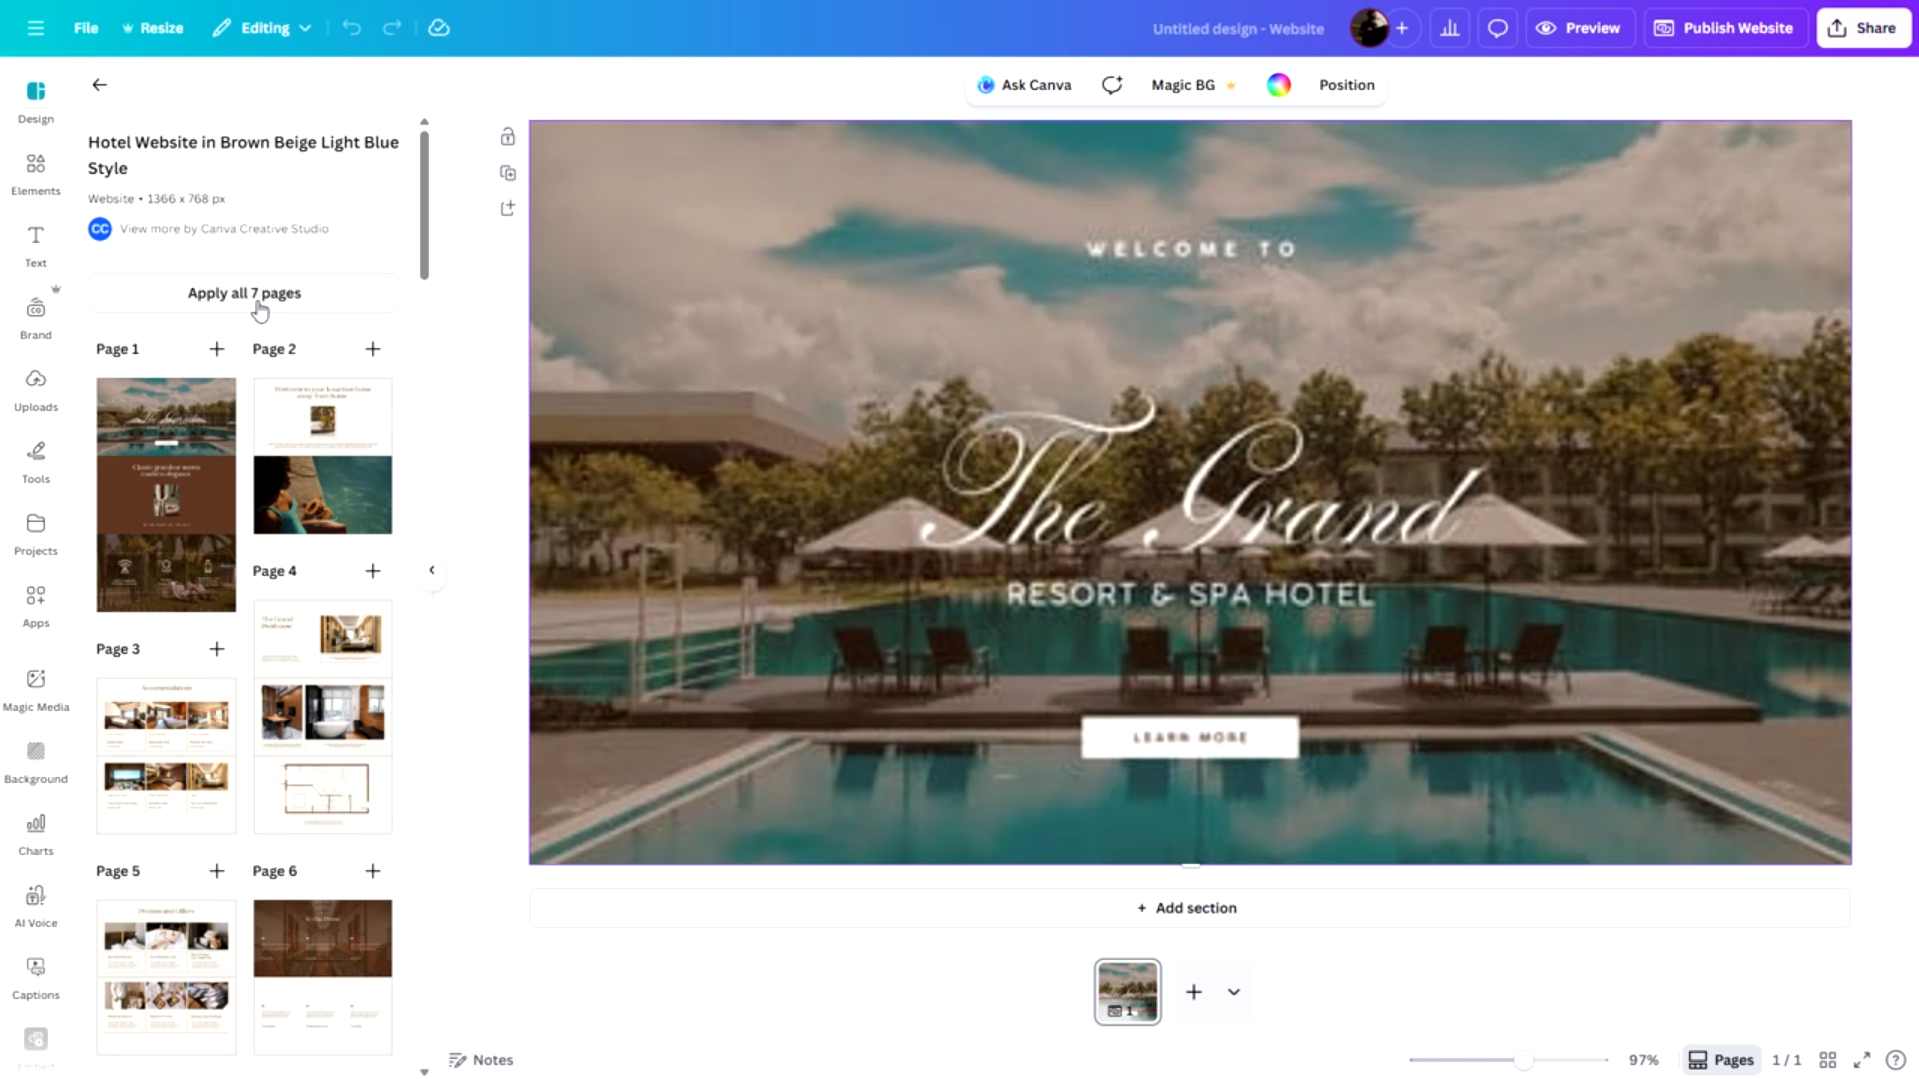
- Add multiple pages from the ”+” icon in the bottom mid.
Each page will now act as a separate section of the website
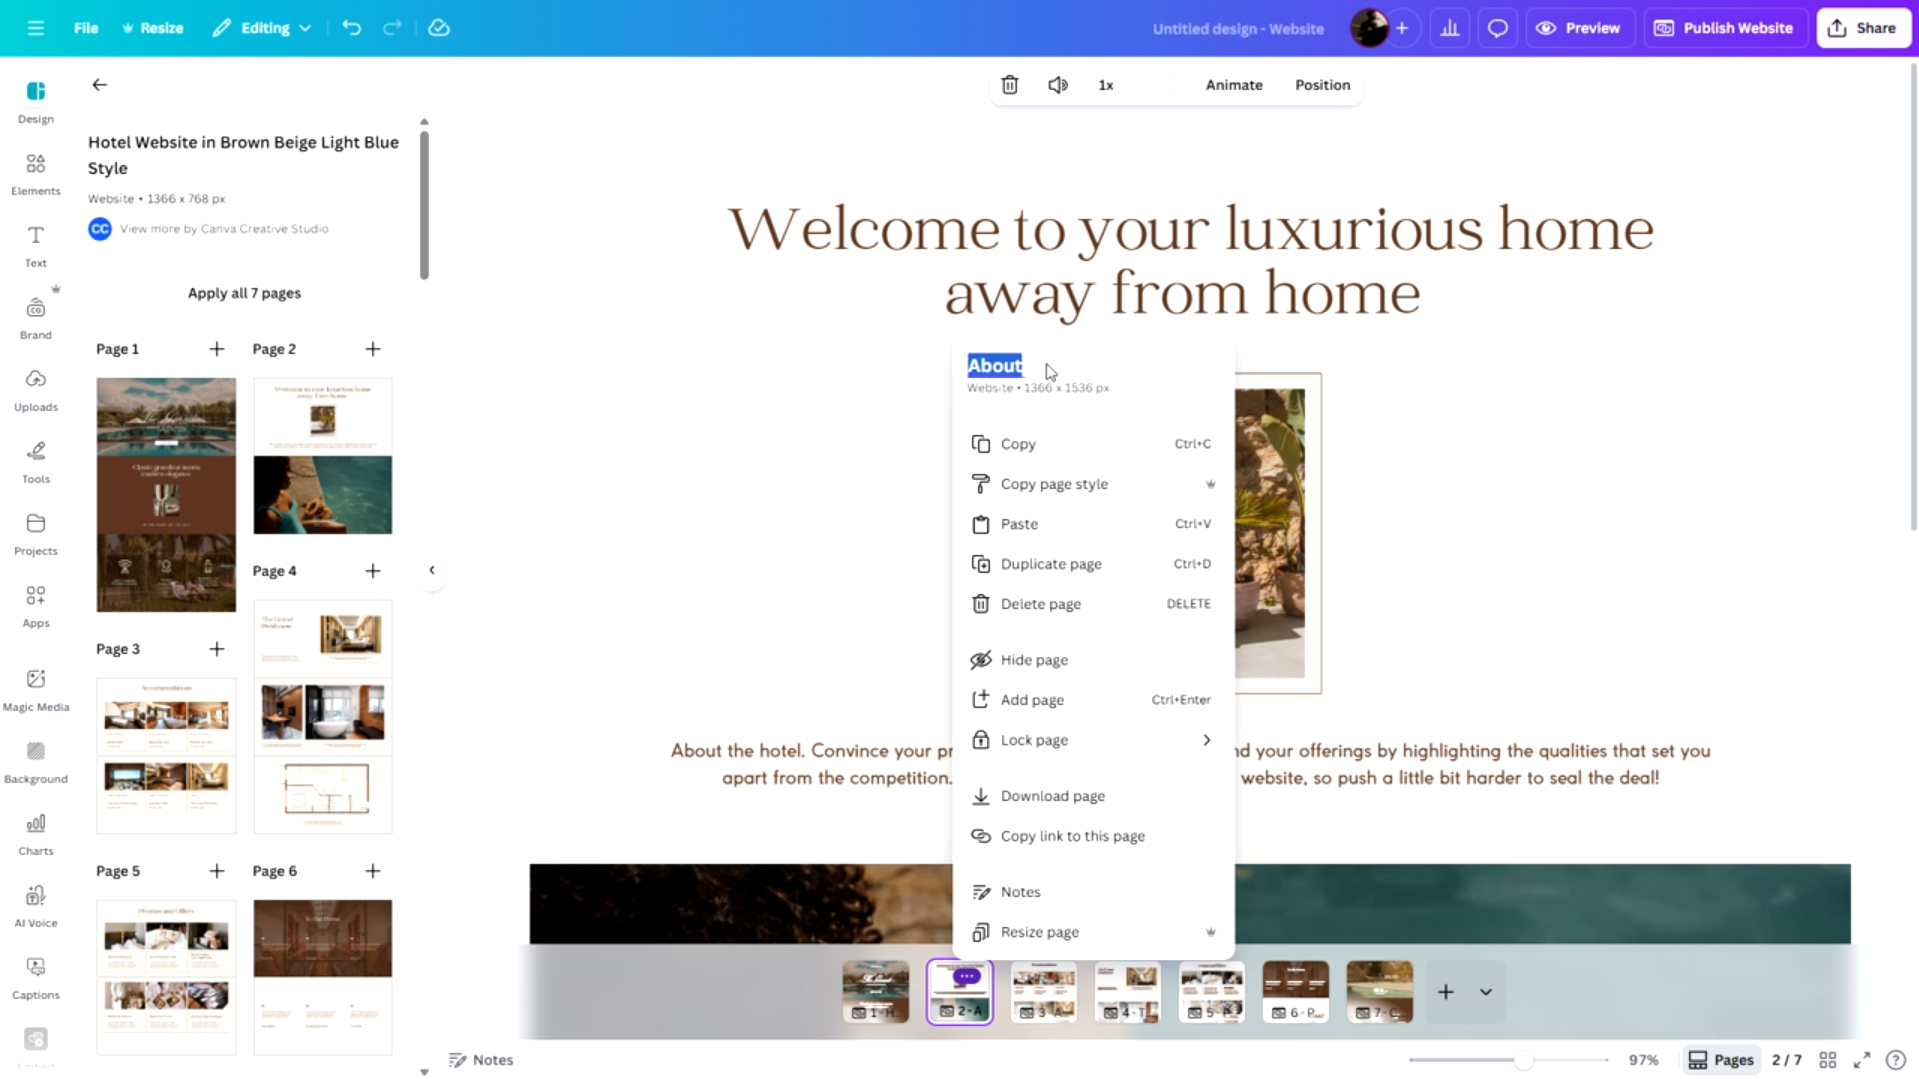
You can rename each page in Canva for better organization and clarity.
Step 2: Link Pages Inside the Canva Design
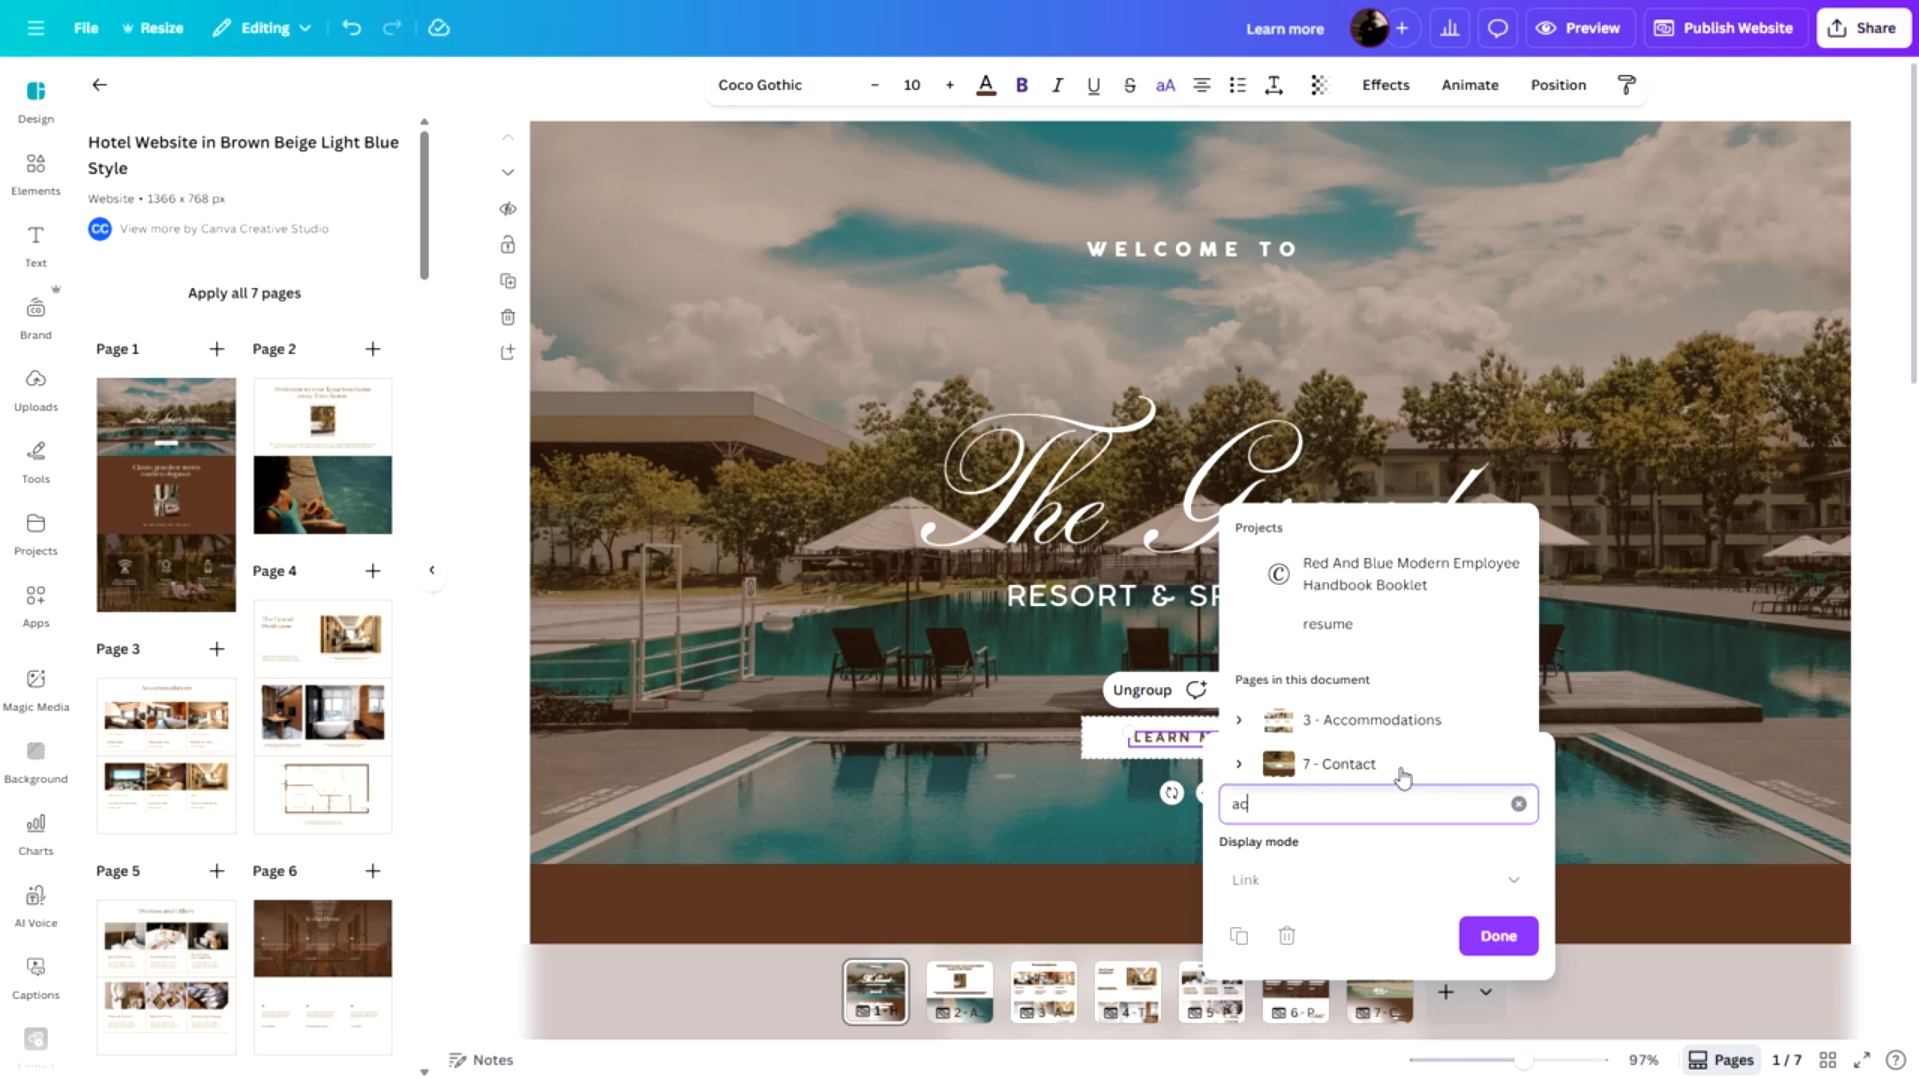
Canva now allows internal page linking. You can:
- Link buttons to other pages in the same design
- Create your custom navigation bar design and link to internal pages
Avoid using Canva’s default navigation bar if you want more control.
This multi-page feature is useful when building simple flows like:
- Landing page → About section
- Hero section → Product details
- CTA → Information page
Step 3: Publish the Canva Website
Before publishing, review the navigation bar settings in Canva:
- Canva allows you to enable or disable its built-in navigation bar
- You can also edit page slugs during publishing
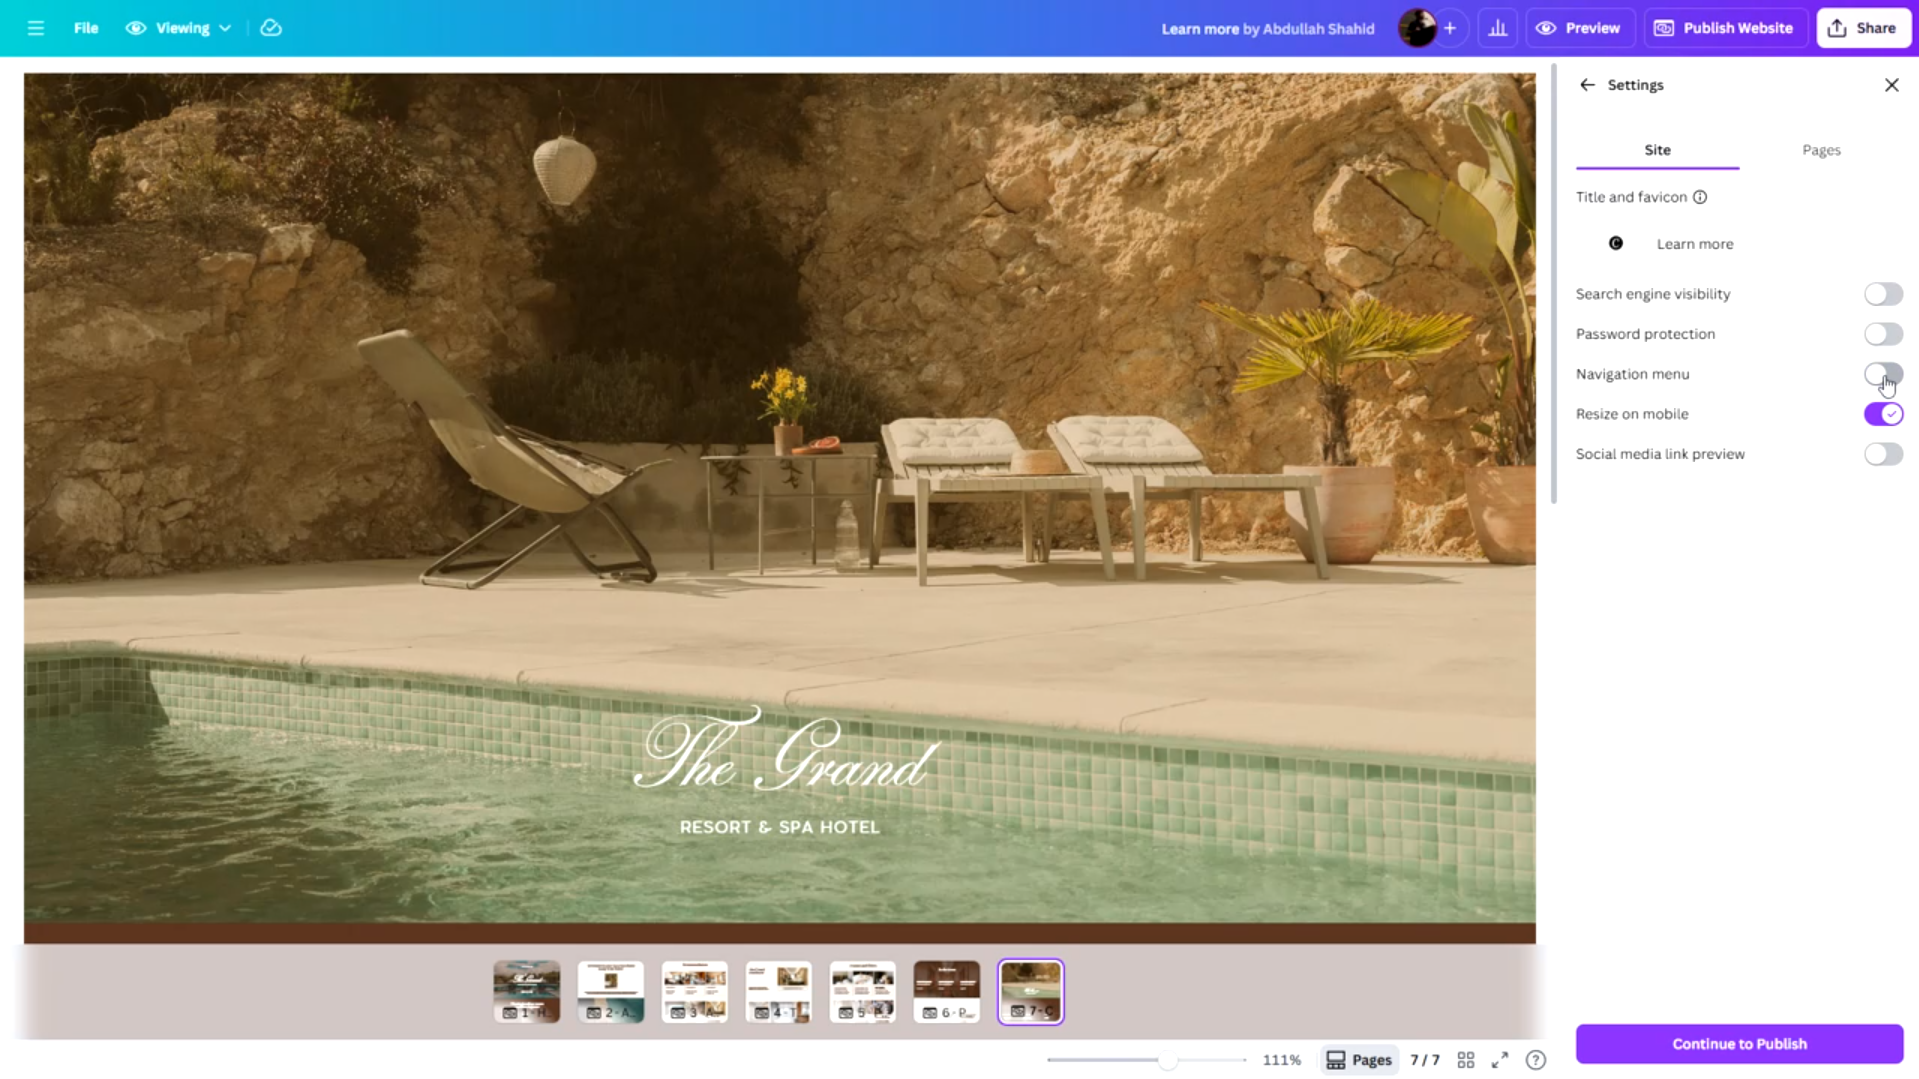
We encourage you to disable Canva’s own navigation bar and use Shopify’s default navigation bar instead. So, disable the navigaion bar from settings before publishing.
Once ready, publish the website and copy the public link.
Step 4: Import the Website into Shopify Using Canvify
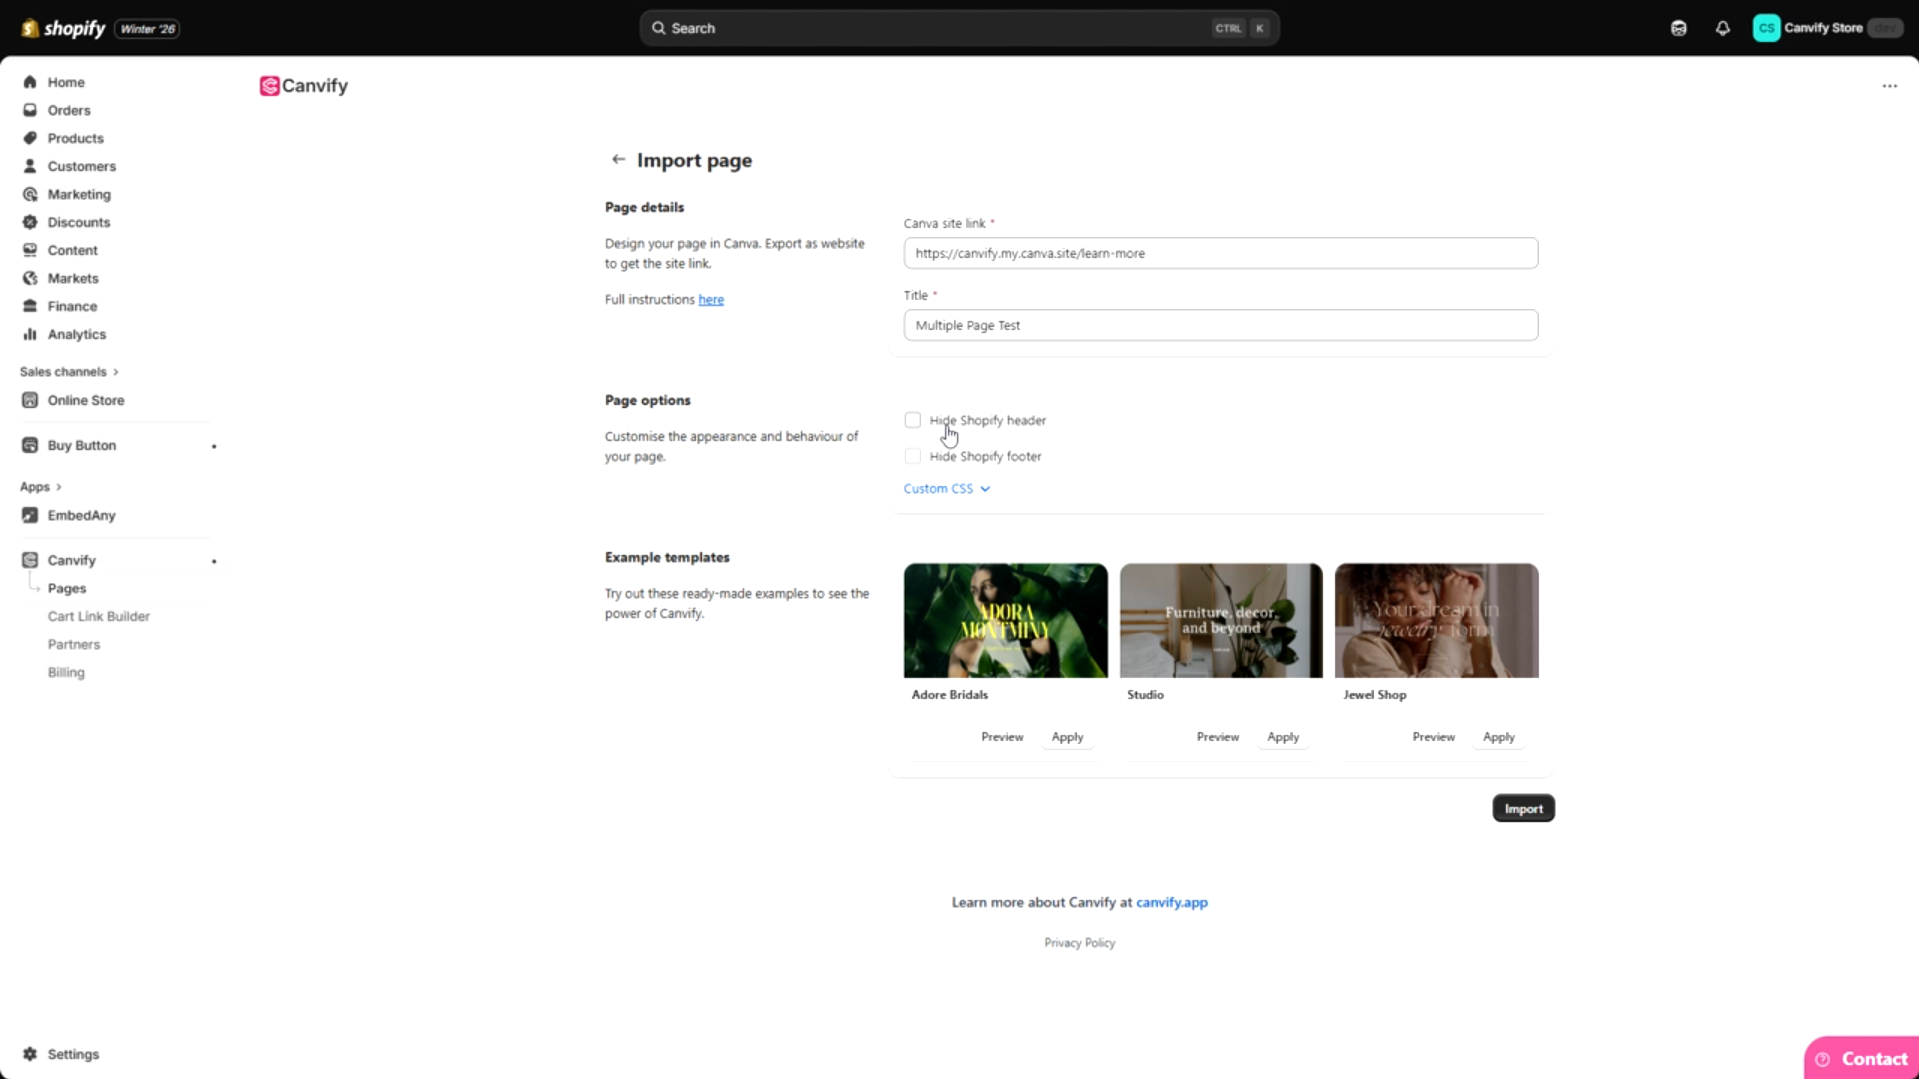
- Import your website to Shopify (see this tutorial on how to import)
- Choose whether to show or hide Shopify’s header (Show it because we are not using Canva’s own navigation)
Thats it. You will be able to navigate to other pages by linking them
Common Isssues With Multi-Page Imports
Seeing duplicate navigation bars
 If you don’t disable Canva’s navigation bar when publishing as website, you will see two navigation bars (one from Canva, and one from Shopify). You should keep one of them. We prefer you use Shopify’s own navigation bar.
I am Seeing Glitchy and Inconsistent URLs
Sometimes, when you’re solely relying on Canva’s navigation bar, switching pages can cause link glitches. Sub-pages can appear as nested Canva URLs (e.g. /pages/canvapage/canvasubpage/canvasubpage). This looks messy and is not SEO-friendly. Because of this, we recommend keeping Shopify’s navigation bar enabled.
How to Add Subpages to Shopify’s Header
You can’t add subpage link to your Shopify’s navigation. You can only link to the main page, not any subpage. This is why, we recommend importing designs separately if you want to link each page to navigation as well. If the subpage doesn’t need to be linked inside Navigation, you can use multi-page design.